Friday, December 8, 2017

Persistent Data Volumes for Oracle in Docker

A good use of Oracle on Docker is for building out test environments. Developers can spin up an Oracle database as part of an application stack in no time flat and get to working. That's great news for DBAs, particularly if you don't enjoy installing Oracle on dozens of development servers!

The only downside is that it's unlikely that the Docker build of Oracle will come with your data. What that means for developers is that after building out an Oracle installation, it needs to be populated with data. OK< no problem—that's what expdp and impdp are for, right?

Docker instances are ephemeral. Once you burn it down it's gone for good. And... so is your data that you spent so much time populating.

The solution to this is the put the data in a mapped volume outside the container. (For great tutorials on building an Oracle Docker container database, see Maria Colgan's tutorial and this follow-up by Steven Feuerstein.)

I was recently asked to build a gold image for our developers to use with Oracle 11 XE database installs and demonstrate that the external data volume was portable. In other words, that the data volume would work on other people's machines, in different locations, and when accessed by differently named containers, and thought I'd share the experience.

The following technique is applicable to any version of Oracle on Docker (11g, 12cR1, 12cR2) but I'll be demonstrating with the 11g XE install our developers wanted because of the licensing flexibility.

The first thing I encountered was a notably different experience between building an 11g XE container and my prior work with 12c on Docker. The 11g XE install has a swap space check that, on OS X, prevents the install from completing. An excellent blog post describing the steps to work around the issue is on Ottmar Gobrecht's blog.

With that out of the way I was able to build the 11g XE image and get to work.

The magic is all in how you run the Docker run command. There's a -v option for specifying the mapping between a path "inside" the container to a "real" path on the host. Everything "inside" the container is lost when it's removed but the data on the host volume "outside" the container will remain. This means I can build a container, create the volume on my local host, then zip it up and distribute it to others.

This is an example of the command I ran to create my container:

 docker run --name oracle-xe \  
 -p 1521:1521 \
 --shm-size=1G \
 -e ORACLE_PWD=manager \
 -v ~/oradata/XE:/u01/app/oracle/oradata \
 oracle/database:11.2.0.2-xe

The notable part is the -v directive. It's mapping /u01/app/oracle/oradata in the container to ~/oradata/XE on the host. The container path is defined in docker-images-master/OracleDatabase/dockerfiles/<db_version>/Dockerfile.<edition>. All of the configurations for the database (including the contents of $ORACLE_HOME/dbs, $ORACLE_HOME/network/admin, and all the controlfiles, datafiles, and redo log files) will be linked to that location. In other words, everything needed to start and run a database.

The initial build of an Oracle database in Docker will spawn the database creation. There's a section in the docker-images-master/OracleDatabase/dockerfiles/<db_version>/runOracle.sh script that checks for the existence of a database:
 if [ -d $ORACLE_BASE/oradata/$ORACLE_SID ]; then  
   symLinkFiles;  
   # Make sure audit file destination exists  
   if [ ! -d $ORACLE_BASE/admin/$ORACLE_SID/adump ]; then  
    su -p oracle -c "mkdir -p $ORACLE_BASE/admin/$ORACLE_SID/adump"  
   fi;  
 fi;  


Normally, when building a database, you'd see output or log entries similar to:
Copying database files
1% complete
25% complete
Creating and starting Oracle instance
26% complete
41% complete
Completing Database Creation
42% complete
50% complete
Creating Pluggable Databases
55% complete
75% complete
Executing Post Configuration Actions
100% complete

...eventually followed by the message:
#########################
DATABASE IS READY TO USE!
#########################

After this first build I added new datafiles and imported data into the database. Then, I dropped the container:
 docker rm --force oracle-xe  


I next rebuilt the container using a different name:
 docker run --name xe \  
 >      -p 1521:1521 \ 
 >      --shm-size=1G \ 
 >      -e ORACLE_PWD=manager \ 
 >      -v ~/oradata/XE:/u01/app/oracle/oradata \ 
 >      oracle/database:11.2.0.2-xe 
 #########################   
 DATABASE IS READY TO USE!   
 #########################   

Note that the first message from the build was "Database is ready use!" There was no database creation because the runOracle.sh script recognized the existence of the database at the specified location!

I achieved the same result after moving the files to a different location (and changing the local mapping path in the -v option accordingly) and when moving to a different machine. Voila! A portable, persistent data volume for your Oracle database on Docker!
Thursday, June 22, 2017

Sending messages from an Oracle database to Slack

Slack is becoming a standard tool for communication among DevOps teams. It's easily extensible and integrated into systems, providing a more flexible alerting structure.

Consider the legacy "pager duty" structure, where one or more members of a team get paged for an event. The pages are distributed but team members are disconnected, so you may not be aware that someone else is already fixing the problem without a second mechanism such as email or chat.

Slack blends the two, so it's a natural evolution to dispense with traditional pages (Slack will page you with WhatsApp-style messages anyway and can be customized) and integrate database messaging directly into Slack.

The process for configuring the integration takes less than an hour.

Set up Webhooks integration on Slack

Go to slack.com and sign up for an account if you don't already have one. It's free.

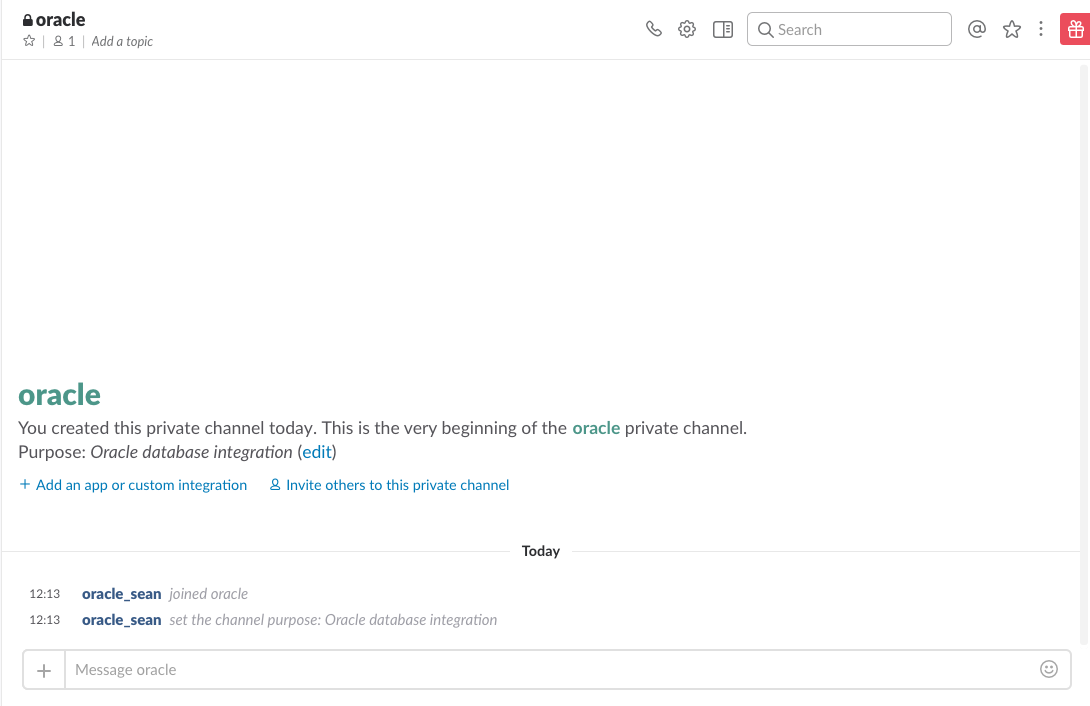
Once you're in Slack, create a new channel (or use an existing one) for messaging. I chose to create a private channel called #oracle. A private channel allows you to control membership. A public channel can be joined by anyone in your Slack domain.


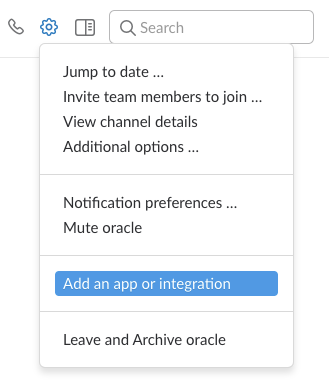
With the channel created, click on the Settings gear at the top. You'll get a drop-down dialog; select "Add an app or integration".


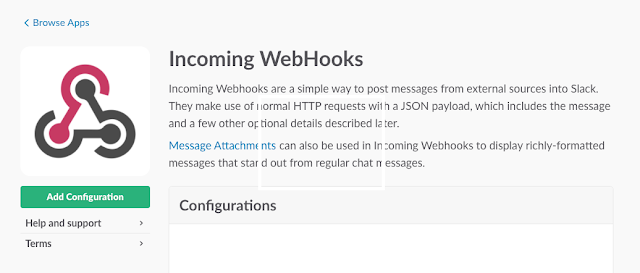
This will take you to Slack's app and integration page. In the search box, type "Incoming Webhooks" and choose the Incoming Webhooks integration.


Click on "Add Configuration". This will take you to the configuration options, where you'll add the channel you want to send notifications to.


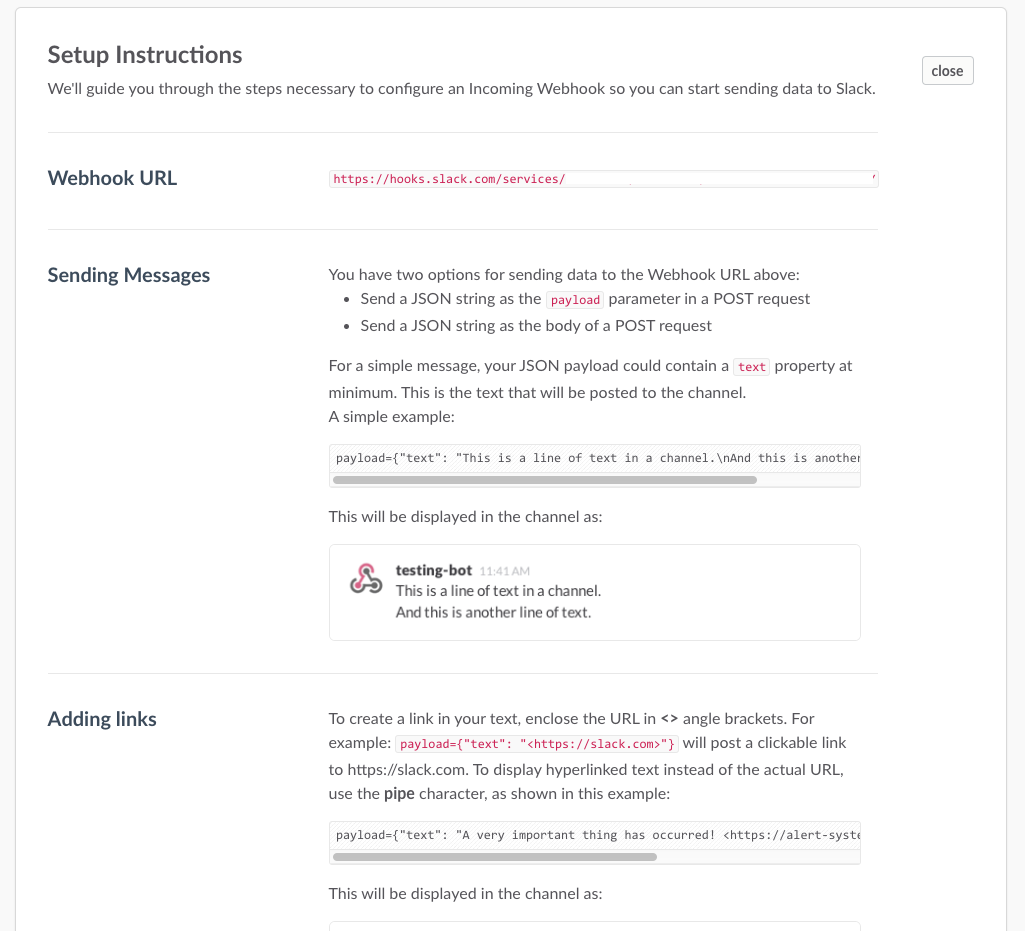
The next screen will provide your Webhook URL. Treat this like a password—it's the URL you'll use to send information from the database to Slack. This page also gives you basic information on how to send and format JSON to Slack.


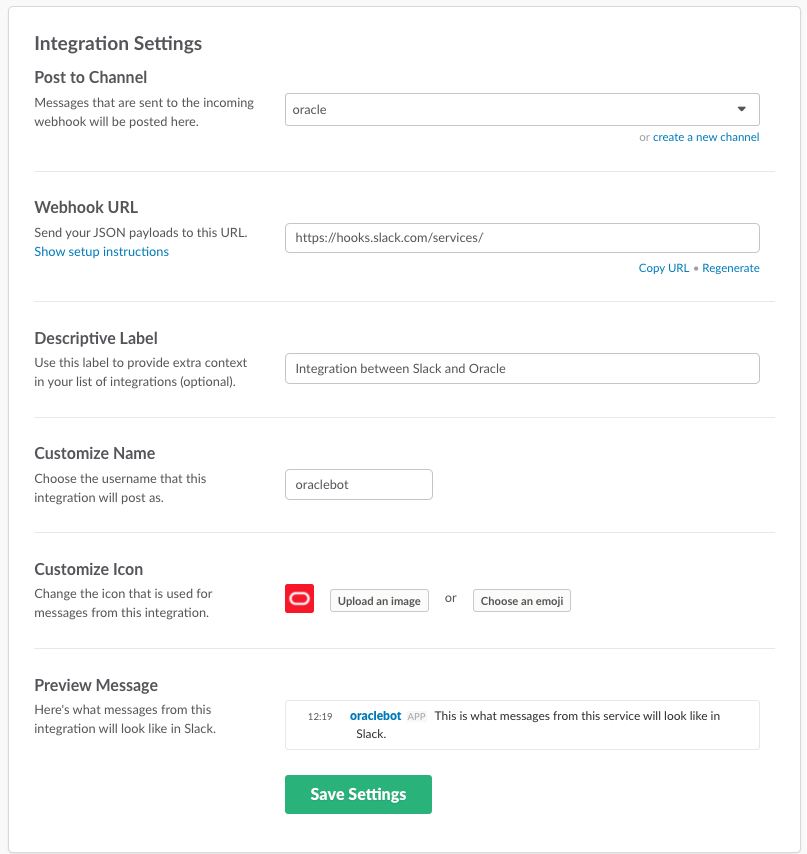
You'll have further options to customize your channel and give it meaning on the following page:


Configure an Oracle Wallet and add the Slack Certificate

Slack uses SSL (HTTPS) so you can't just send web requests directly from Oracle. You have to set up a Wallet and import the Slack certificate.

First create a Wallet:

mkdir -p /oracle/wallet
orapki wallet create -wallet /oracle/wallet -pwd suPerStr0ngP@ssword -auto_login

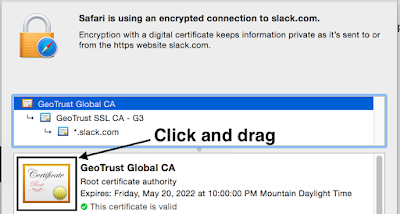
Go to Slack.com and import the certificate. The procedure will depend on your operating system and browser. In Safari on Mac, navigate to slack.com and click on the lock icon beside the domain. Then click and drag the certificate to your Desktop.


Copy the certificate to your database server and note the location. For this deomonstration I added the certificate to /oracle/wallet. You could easily put it in a shared location, particularly if you have multiple database servers that you'll be configuring as it will save you having to copy the certificate to each machine.

Now, add the certificate to the Wallet:

orapki wallet add -wallet /oracle/wallet -trusted_cert -cert "/oracle/wallet/GeoTrustGlobalCA.cer" -pwd suPerStr0ngP@ssword

Send JSON from Oracle to Slack

With the certificate imported into the Wallet, all we need to do now is send a POST request to the Webhooks URL with the JSON message we want to have reported in Slack.

  declare
          req                  utl_http.req;
          res                  utl_http.resp;
          url                  varchar2(4000) := 'https://hooks.slack.com/services/your_webhook_url_goes_here';
          name                 varchar2(4000);
          buffer               varchar2(4000); 
          content              varchar2(4000);
          db_name              v$database.name%TYPE;
    begin

          utl_http.set_wallet('file:/oracle/wallet', 'suPerStr0ngP@ssword');

           select name
             into db_name
             from v$database;

         content := '{"channel": "#oracle", "username": "orabot", "text": "Test post to the #oracle channel from database ' || db_name || '", "icon_emoji": ":oracle:"}';req := utl_http.begin_request(url, 'POST',' HTTP/1.1');
         utl_http.set_header(req, 'user-agent', 'mozilla/4.0'); 
         utl_http.set_header(req, 'content-type', 'application/json'); 
         utl_http.set_header(req, 'Content-Length', length(content));

         utl_http.write_text(req, content);

         res := utl_http.get_response(req);

             begin
              loop
                   utl_http.read_line(res, buffer);
                   dbms_output.put_line(buffer);
          end loop;
                   utl_http.end_response(res);
         exception
              when utl_http.end_of_body
              then utl_http.end_response(res);
               end;
     end;
/

The end result is the message being delivered to Slack: